
The Hondo Miimo robotic lawnmower is designed to take care of your lawn, so you can spend more time enjoying your garden. Once set up, this robotic lawnmower keeps your grass neatly trimmed with minimal effort.
Whether you're a new Miimo owner or researching how robot lawnmowers work, this step-by-step guide will show you how to install and set up your robotic mower from start to finish.
What’s included with your Miimo
Before you begin, take all parts out of the box. Your Honda Miimo should come with:
• The Honda Miimo unit
• Docking station
• Boundary wire
• Pegs
• Power adapter
• Extension cord
• Blade holder
• User manual
• Safety key
• Cleaning brush
You may also need to purchase a boundary wire kit separately, depending on current offers or installation options.
To get started, you’ll also need some basic tools like wire cutters, a rubber mallet, and possibly a small spade if you plan to bury any of the wire.

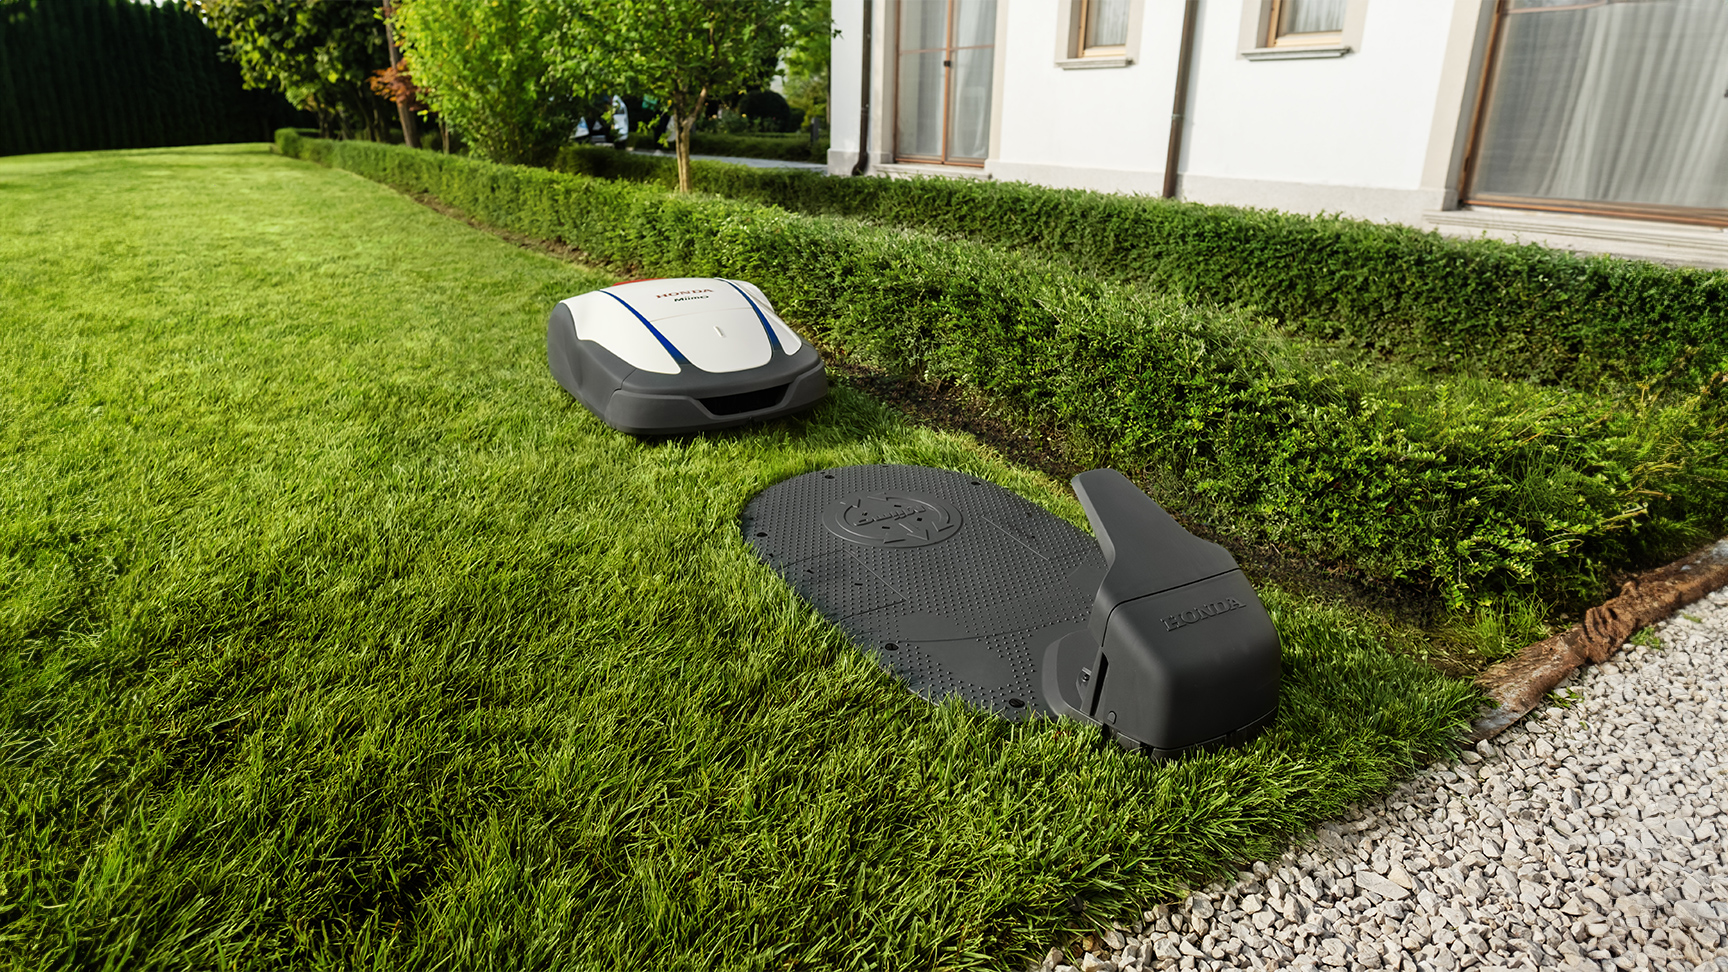
Choose the right place for the docking station
The docking station is where Miimo charges and starts each mowing session, so its location is important.
Here’s what to consider when placing it:
• Choose a flat, level area of lawn
• Ensure there’s a nearby power socket
• Leave clear space around the front and sides so Miimo can enter and exit easily
• Avoid direct sunlight and waterlogged or shaded corners where the signal might weaken
Once you’ve chosen the right spot, connect the boundary wire first, then plug in the station. Check the LED indicators to confirm it's powered and ready to go.
Lay the boundary wire
Your Miimo requires a perimeter wire to operate. Also called a boundary wire, this cable emits a signal to the robotic mower and defines the mowing area.
Follow these simple steps to lay it:
1. Sketch your lawn layout. Plan where you want Miimo to go. Map out edges and mark obstacles.
2. Start at the docking station. Make sure it’s positioned with the correct clearance.
3. Lay wire around the perimeter. Unroll and guide the wire around the lawn. Leave slack at corners to help Miimo turn.
4. Avoid sharp edges and obstacles. Leave at least 30 cm between the wire and raised features like trees or flower beds.
5. Secure the wire. Use the included pegs to fix the wire to the ground, placing them every 1–2 metres (3–6 feet). You can also bury the wire if preferred.
Connect and charge

After laying the boundary wire, connect both ends to the terminals on the docking station. Double-check the connections are secure and the loop is complete.
Now, place Miimo into the dock and allow it to fully charge before use. Charging typically takes 1–2 hours depending on the model.
You’re ready to set it up.
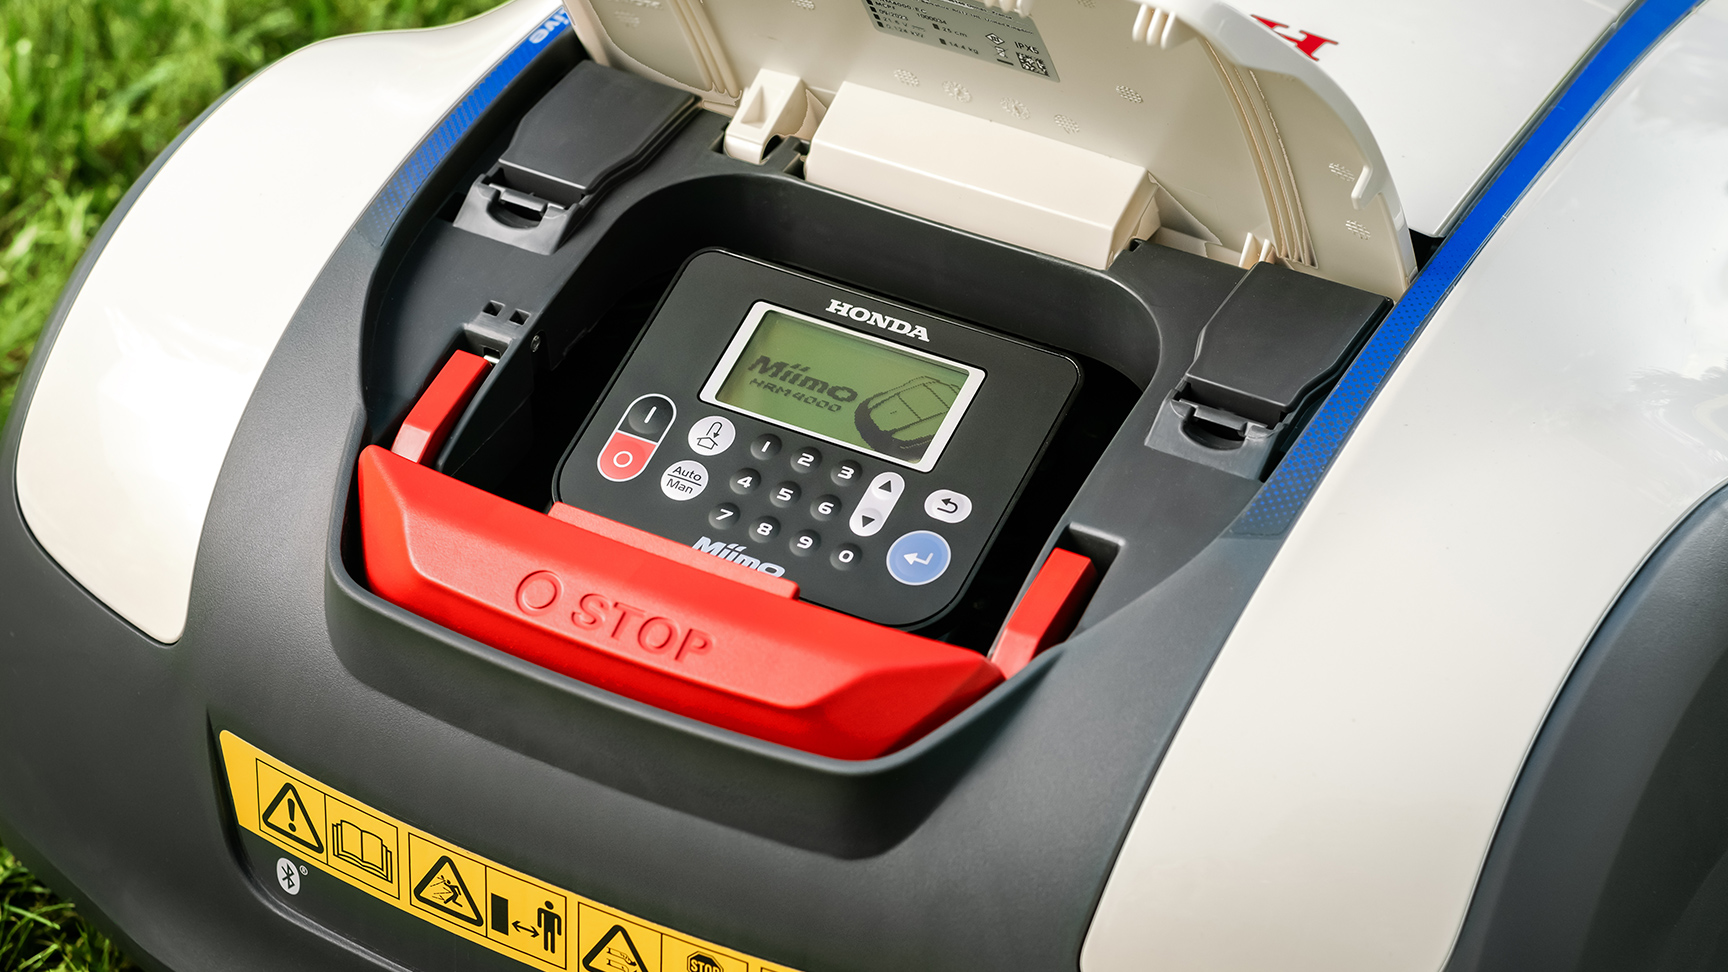
Programme your Miimo
Next, it’s time to configure your Miimo’s mowing schedule and settings. This will depend on the model:
• Miimo HRM1000 must be set up using the Mii-monitor app
• Miimo HRM1500 / 2500 / 4000 can be set up either via the onboard display or the app
During setup, you’ll be asked to:
• Select your language
• Set the date and time
• Enter your garden layout details
• Choose your cutting height
• Set mowing days and times
For spring and summer, mowing 3–5 times per week usually gives the best results. Some models feature a smart mowing mode that adapts to lawn growth automatically.
If your model supports it, the Mii-monitor app allows you to manage settings remotely and get status updates.
Maintain your robotic mower

To keep your Miimo robotic lawnmower functioning at its best, maintenance is essential. Here are some top tips for taking care of your Honda automatic lawnmower:
- Clean blades and wheels regularly
- Replace blades after a season (or sooner, depending on use)
- Store Miimo in a dry place over winter
- Carefully remove glass clippings
- Clean the docking station
Some models can notify you about maintenance via the Mii-monitor app.
Ask your local dealer
Need help getting started? Honda dealers can offer expert advice and support for Miimo installation.
And until 31st July 2025, Miimo comes with FREE professional installation included as part of our latest campaign—making setup even easier. Speak to your local dealer to learn more about this limited-time offer and book your installation.
FREE Professional Installation Offer valid 1st March to 31st July 2025FAQs
Most lawns benefit from 3–4 short cuts per week, or every other day. Miimo can be set to run automatically based on lawn size and grass growth.
Robotic mowers need an initial setup, including boundary wire installation. They may not be suitable for very steep lawns or lawns with lots of obstacles.
Live Miimo models use mobile connectivity, not Wi-Fi. Non-live models operate using Bluetooth. Either way, a wireless connection is only needed for remote control via the app—not for basic operation.